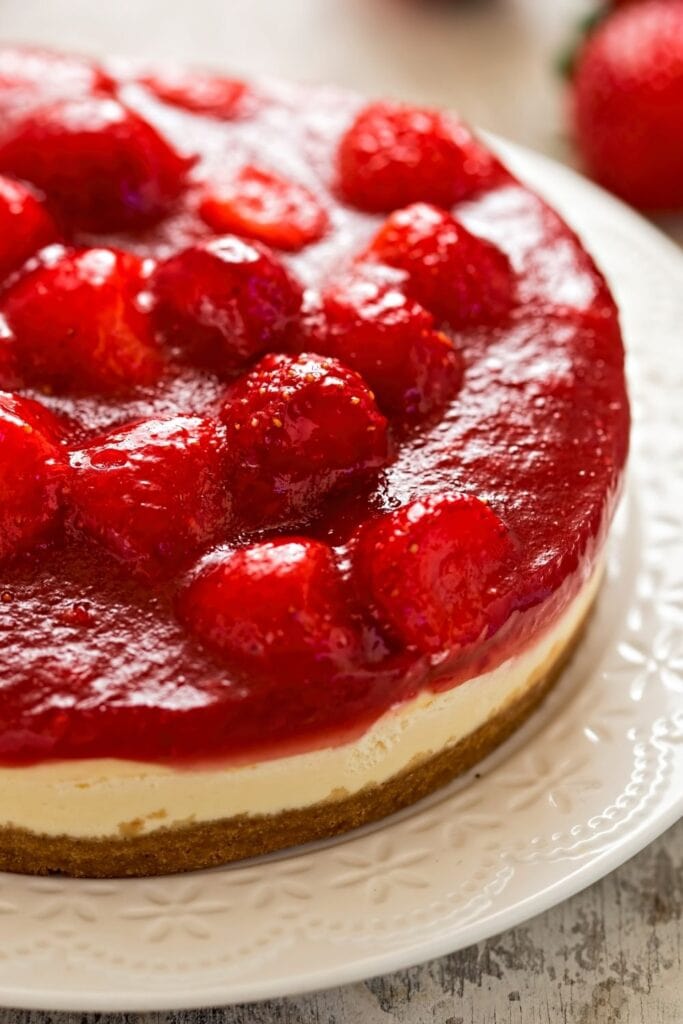
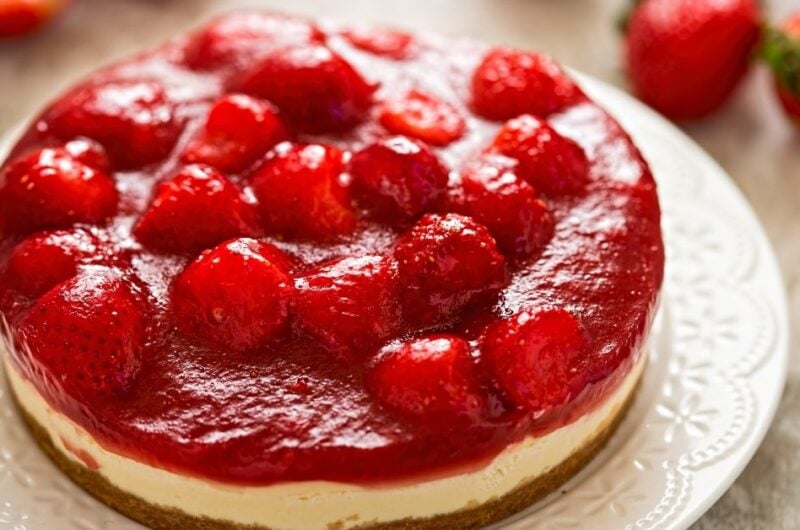
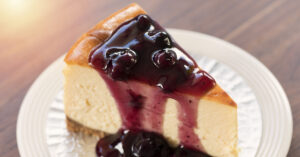
As a lover of all things cheesy, cheesecake is easily one of my top five favorite desserts in the world. I’ve had more slices of cheesecake than I care to admit, and I must say, this one is one of the best. I had no idea sweetened condensed milk could work such wonders for a cheesecake! This cheesecake is superior to most I’ve tried, and it’s so easy to pull off. With condensed milk, you don’t have to worry about your cheesecake cracking anymore! This sweet, golden substance creates such a smooth and silky batter that’s destined for cheesecake greatness. Don’t believe me? Try it and see for yourself.
How to Avoid a Cracked Cheesecake
Take things low and slow. That’s why this recipe requires the oven to only be at 300 degrees Fahrenheit instead of the usual 350. A high temperature will cause a cheesecake to crack down the middle. Yikes. You also won’t want to cool the cheesecake abruptly. You can either let it cool completely at room temperature, or leave it for 10 to 15 minutes in the oven (which should already be turned off) with the door slightly open. Then, let it cool completely at room temperature before you refrigerate it. With this technique, you’ll cool the cheesecake gradually, which will help avoid cracks.
What Is the Best Type of Pan for Cheesecake?
The only pan you should use when baking a cheesecake is a springform pan. Because of its detachable rim, it makes cake release a breeze. You see, unlike other cakes, you can’t just flip over a cheesecake onto a serving plate and call it a day. You’ll need to serve it with the crust at the bottom and the cheesecake filling on top! If you don’t have a springform pan, your best option is to use a disposable pan that you can cut off to release the cheesecake in one piece.
Tips for Making the Best Cheesecake
There are several things that could go wrong when baking a cheesecake, which is why some might find it intimidating to make. But you know what? It’s really not that difficult. Follow these tips, and I promise you, your baking experience will be a breeze. First, use softened, room temperature cream cheese. Cold cream cheese will result in a lot of lumps. Also, stick to good-quality, full-fat brick cream cheese. Philadelphia is my number one choice because it yields the best cheesecake consistency and flavor. If you can find Level Valley in your local grocery store, though, I also highly recommend it. It’s so much cheaper, and it yields such a smooth and velvety texture. And no, do not use cream cheese spread. Beat the cream cheese well, until it’s light and fluffy. This will take about 1 to 2 minutes if you use an electric mixer at medium speed. More Tips:
Use room temperature eggs, cream cheese, and sour cream. They’ll blend more easily with each other, which will then result in a smooth, lump-free batter.If you forget to set the dairy ingredients on the counter beforehand, you can microwave the cream cheese and sour cream for several seconds. As for the eggs, submerge them in hot water for a few minutes to warm them up.Do not over-beat the ingredients. This will incorporate too many air bubbles into the batter. This will cause the cheesecake to rise too much in the oven, only to deflate and crack while cooling. Stop beating as soon as the ingredients are fully combined.For the crust, try crushed Oreos and Nilla wafers instead of graham crackers. Or, for a more unique flavor, opt for crushed gingersnaps or Speculoos.If all you have are graham crackers, that’s okay. You can easily crush them in a food processor. Or, put them in a Ziploc bag and crush them with a rolling pin or meat tenderizer.Use the back of the glass or measuring cup to press the crust firmly onto the pan.Use a springform pan for an effortless cake release. Just loosen the latch and lift the rim, and there’s your cheesecake.When baking, low and slow is the way to go. A high temperature will cause the cheesecake to crack.Don’t open the oven door while baking. This will cause an abrupt change in the oven temperature, which may cause the cheesecake to sink and crack.Some recipes require a water bath to ensure zero cracks, but just stick to this recipe and you’ll be fine.Just in case you’re curious, though, a water bath is the process of placing the pan of cheesecake in a bigger pan that’s filled halfway with water. The water protects the cheesecake from being exposed to direct heat. It creates some sort of insulation that distributes heat evenly, resulting in a perfect cheesecake.Use an instant-read thermometer to test for doneness. It’s done when it reads 150 degrees Fahrenheit. If you don’t have one, just give the pan a jiggle. It should be almost completely set, except for a subtle wobbling in the middle.Let the cheesecake cool completely first before you refrigerate. Cover it in plastic wrap and chill it overnight. Cheesecakes tastes better the next day.Refrigerate the cheesecake, covered in plastic wrap, for up to 5 days. Or, freeze it for up to 4 months. Double wrap it in plastic wrap and aluminum foil and place it in a large, freezer-safe bag.
Cheesecake Toppings
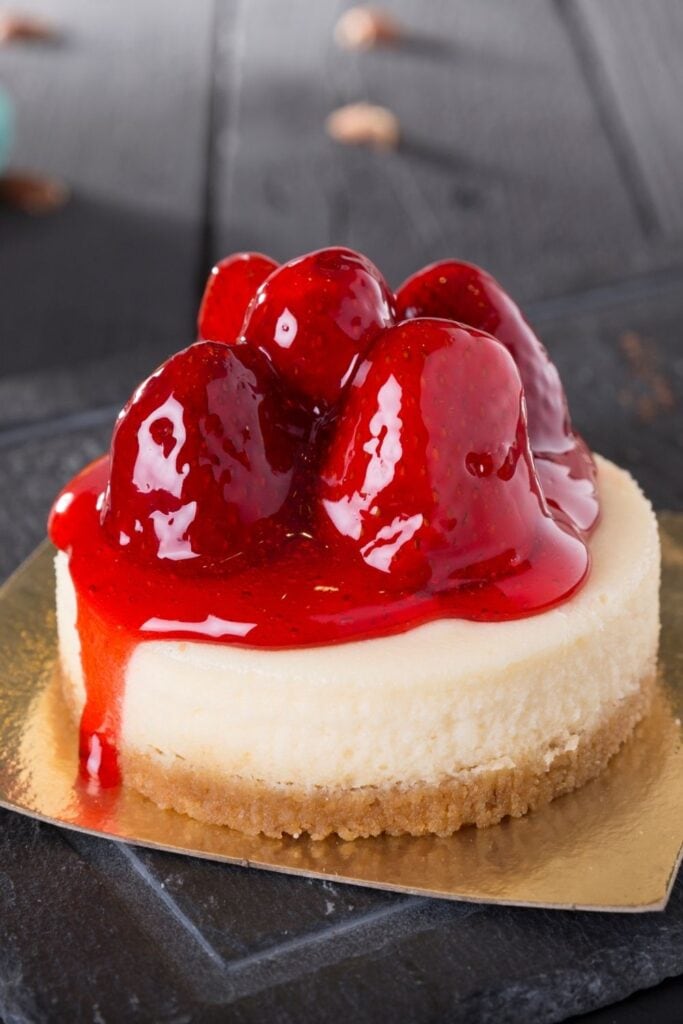
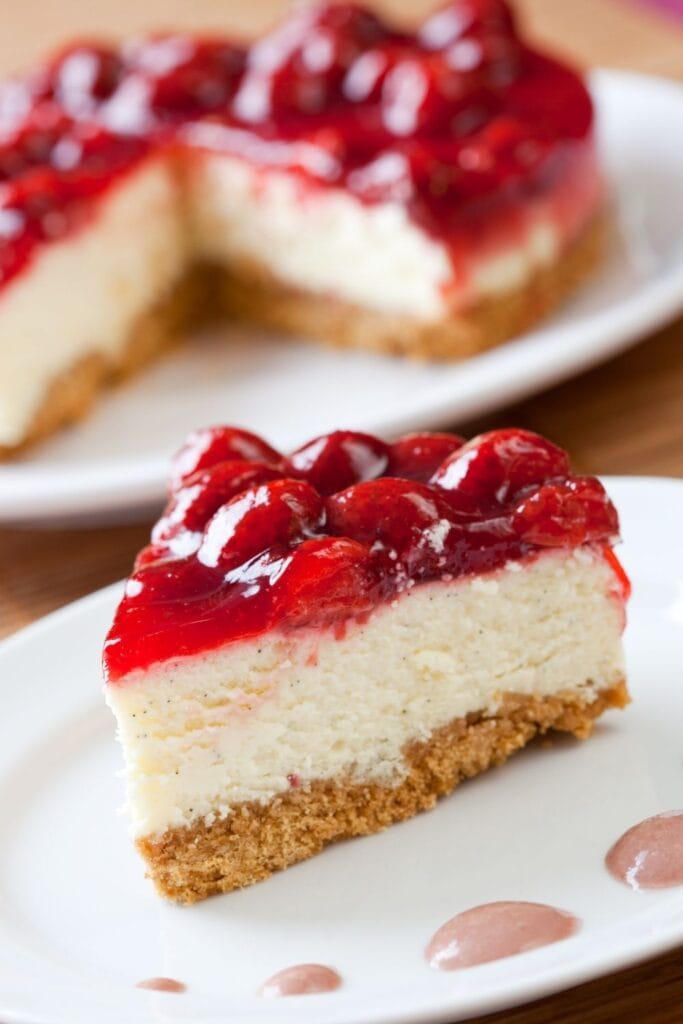
If at the end of the day, you still get a cracked cheesecake – so what? It’ll still be delicious, and you can easily cover it up with toppings! Pie Filling – cherry, blueberry, strawberry, you name it. Whipped Cream with chocolate or caramel sauce drizzled on top.
More Cheesecake Recipes You’ll Love
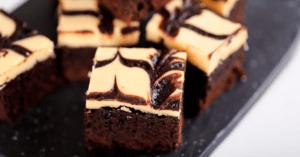
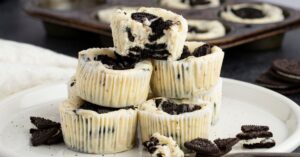
Philadelphia No-Bake Cheesecake No-Bake Oreo Cheesecake Oreo Cheesecake Bites Double-Layer Pumpkin Cheesecake Cheesecake Brownies Click on a star to rate it!
Average rating 5 / 5. Vote count: 9 No votes so far! Be the first to rate this post.
Share on social media: Let us improve this post!


